Original
Final Pic


FIRSTLY,
to get the blurred background, I used the quick selection tool and made an outline around my focus, which is the artist. Then, I went onto filter option > box blur.
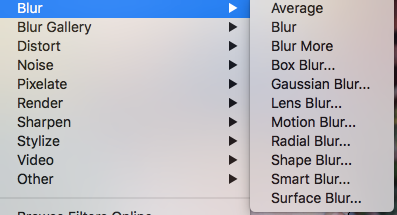


THEN,
I adjusted how much I wanted my photo to be blurred. I decided the blur at 370 pixels looked good as you couldn't see the background but it did not look tacky.


TO
make my photo look more professional, I used the spot healing tool to get rid of any visible blemishes on my artist.


I
then played around with the adjustments to give the photo it's focused and professional look included:


Curves to target highlight certain areas & darken my photo
Lightness to darken the tones of my photo and the photo as a whole
Levels to adjust brightness, contrast and tonal range of the photo
Photo Filters to add a tinge to my photo. I went for the Underwater and Warming Filter as these both worked together really well to create an effect that did not take anything away from my photo but added a slight and nice tinge to it.